Genshin Impact
 Honkai: Star Rail (HSR)
 Zenless Zone Zero(zzz)
 Wuthering Waves
 Arknights: Endfield
 GODDESS OF VICTORY: NIKKE
 Last War: Survival Game
 Mobile Legends: Bang Bang
 King Shot
 PUBG MOBILE
 NTE (Neverness to Everness)
  Delta Force
 Whiteout Survival
 Identity V
 Last Z: Survival Shooter
 Honor of Kings
 Free Fire
 Dark War Survival
 AFK Journey
 Valorant
 Marvel Rivals
 Where Winds Meet
 Pokémon Trading Card Game Pocket
 Arknights
 Tiles Survive
 Poppo Live
 Bigo Live
 Heartopia
 ChatGPT
 Valorant Vouchers
 Roblox
 Lineage 2M
 Miliastra Wonderland
 FC 26 Coins
 Chamet
 Etheria: Restart
 APEX
APEX Fortnite
 MONOPOLY GO!
 Royal Match
 Candy Crush Saga
 Blue Protocol: Star Resonance
 Reverse: 1999
 Arena Breakout
 Infinity Nikki
 Love and Deepspace
 Pokémon Go
 Clash Royale
 Brawl Stars
 Chaos Zero Nightmare
 Blood Strike
 Umamusume: Pretty Derby
 Hot Selling Games


 Like
Like

Welcome to the ultimate Lacrimosa build guide. If you are looking for a top-tier Chaos Main DPS who absolutely melts enemies with Damage-over-Time (DoT), this sleepy yet destructive operative is a must-have for your roster. She brings a totally unique playstyle to the table, allowing you to swap between melee and ranged combat while piling up massive debuffs.

- Enjoy Up To 22% Off On Game Top-ups.
- 3-minute Delivery For Non-stop Gaming.
- Trusted 4.9/5 On Trustpilot, 10/10 Among Players.
- Official Partnership Route, Protect Your Game Wallet.
In this guide, we will break down exactly how to gear your new hyper-carry, the best artifacts to farm, and the optimal team rotations to maximize her damage output.


Who is Lacrimosa and What is Their Playstyle?
Lacrimosa is a 5-star Chaos element character whose entire kit revolves around applying and detonating DoT stacks called Nightmare. Your primary goal with this main DPS is to stay on the field, aggressively build up debuffs using her versatile attack combos, and then drop a massive nuke during her burst window.
Her playstyle is incredibly fluid. You can manually swap her attack module between close-quarters combat (using a frying pan) and ranged barrages (manipulating red jelly). Because she relies heavily on stacking her signature debuff, this carry requires a bit of field time, but the payoff is massive sustained damage that shreds through boss health bars.
How Do Lacrimosa's Skills Work?
Understanding this character's mechanics is the key to unlocking her full potential. Her kit is designed to relentlessly apply Nightmare stacks (up to 10) to drain enemy HP.
- Basic Attack (Sweet and Sour): This is your bread and butter. You can use Tomato Metal for melee strikes or Tomato Percussion for ranged attacks. Using her Flavor Variation allows you to seamlessly swap between the two mid-combat. Hitting enemies applies Nightmare DoT stacks.
- Skill (Morning Tomato): She throws an AoE Chaos explosive that instantly applies 5 stacks of Nightmare. She also has a redirect ability called Devilish Gift, which copies a teammate's skill mob and gives her a massive ATK buff based on their stats.
- Ultimate (Working Day Judgement): A massive 120-energy nuke. Depending on your current stance, she will either drive a Truck (melee mode) or dismantle a Car (ranged mode) onto the enemies, dealing massive multi-hit Chaos DMG and maxing out debuff stacks.
- Support Skill (Microwake): A simple, hard-hitting AoE Chaos strike used when tagging her in.
Best Combat Rotation:
- Tag in using her Support Skill for quick burst damage.
- Cast her Morning Tomato skill to instantly apply 5 stacks of Nightmare.
- Spam Basic Attacks (either melee or ranged depending on your safety) to reach the 10-stack cap.
- Once the enemy is fully debuffed and Broken, unleash her Ultimate for maximum burst damage.
- Skill Leveling Priority: Ultimate > Skill >= Basic Attack > Support Skill.
What is the Best Weapon for Lacrimosa?
To get the most out of your main DPS, you need weapons that scale her offensive stats and reward her DoT mechanics.
- Best-in-Slot (BiS): The Last Rose
This 5-star weapon is tailor-made for her. It provides a massive base ATK and CRIT Rate boost. More importantly, every time the wearer deals DoT damage, they gain a stack of Chaos Thorn, boosting CRIT DMG by up to 60%. It also extends the duration of enemy Break states, giving you a wider burst window to finish them off. - Best Budget Option: Youthful Fantasy
If you are completely free-to-play, this 5-star alternative is fantastic. It grants a heavy ATK Bonus and increases Break Intensity. Its passive summons a "Black Tome" that buffs your Chaos DMG against designated targets by 20%. - Alternative F2P Option: Shiny Days
A solid early-game 4-star choice that increases Break Intensity and gives a flat 10% DMG boost against Broken units.
Which Gear and Stats Maximize Lacrimosa's Damage?
To make this character a true hyper-carry, you need the right artifact modules.
Best Artifact Set: Diabolos
- 2-Piece Effect: Increases Chaos DMG by 10%.
- 4-Piece Effect: Ignores 12% of enemies' Chaos RES. If the wearer participates in a Nova or Scorch reaction, this jumps to a massive 24% RES shred for 20 seconds.
Main Stat and Sub-Stat Priority:
- Main Stats: Chaos DMG Bonus / ATK
- Sub-Stats: CRIT Rate / CRIT DMG > Break Intensity > ATK%
Note: Even though she relies on DoT, scaling her CRIT and Break Intensity will yield the highest overall DPS during her ultimate phases.
What Are the Best Team Comps for Lacrimosa?
Because this carry demands a lot of field time and relies on specific elemental reactions to trigger her 4-piece artifact set, you want teammates who can buff her, shred resistance, and keep her alive.
The Premium DoT Comp: Lacrimosa + Daffodill + Fadia + Sakiri (or Baicang)
- Daffodill (Sub-DPS/Breaker): She is the best partner for your main DPS. She provides incredible Break Boosts and applies the Insight debuff, making enemies take more damage. At higher awakenings, she also shreds Chaos RES.
- Fadia (Survival/Support): A must-have tank. She redirects damage away from your squishy damage dealers and boosts the team's Max HP. Her Nova Enhancement passive allows the team to drain Max HP from enemies, perfectly complementing your DoT strategy.
- Sakiri (Buffer/Control): She gathers enemies, provides a team-wide ATK buff based on her own stats, and her Scorch Enhancement passive explicitly increases the DoT damage enemies take by up to 100%.
- Baicang (Incantation Main DPS/Sub-DPS): He is the "captain" for a reason. His Moderate Working passive has a special interaction: switching to him while Lacrimosa is in her bat form triggers a super jump. He also provides team-wide coordination and HP recovery via his Bless Power Word.
Budget Team: Lacrimosa + Daffodill + Haniel + Adler
If you are missing premium supports, use Haniel for solid ATK buffs and Psyche damage, and Adler for shielding and extra DoT application.
What Materials Are Needed to Upgrade Lacrimosa?
To push this character to Level 80 and max out her skills, you will need to farm the following materials.
Character Ascension (Level 80):
- 525,000 Beetle Coins
- 17x Lost Whispers
- 18x Obscure Whispers
- 15x Paradoxical Whispers
- 86x Confessional Flower Seed
Skill Materials (Level 10):
- 1,818,000 Beetle Coins
- 40x Lost Whispers / 40x Obscure Whispers / 64x Paradoxical Whispers
- 40x Hesitation of the Waves
- 42x Suspended Whispers
- 65x The Second Self
- 35x Dress Sleeves of Vanity
Signature Weapon Ascension (Level 80):
- 420,000 Beetle Coins
- 14x Lost Whispers
- 18x Obscure Whispers
- 18x Paradoxical Whispers
- 14x Iron Appleseed
- 18x Silver Appleseed
- 18x Golden Appleseed
Which Constellations (Awakenings) Are Worth Getting?
If you are saving up duplicates, here is a breakdown of her Awakenings. Awakening 3 is her absolute best stopping point for massive burst damage.
| Level | Effect | Value/Verdict |
|---|---|---|
| A1: Clock Out Clemency | Increases Nightmare DMG Ratio by 50%. | High. A massive, unconditional buff to her primary damage source. |
| A2: Rise and Shine | Increases damage dealt by 15% for 15s after switching in via Support Skill. | Medium. Easy to trigger and smooths out her rotation. |
| A3: Molten Ice Cream | Instantly triggers all accumulated Nightmare DoT effects when the 5th Basic Attack hits. | Very High. This fundamentally changes her burst speed. Best stopping point. |
| A4: Almighty Lord of Tomatoes | Extends Nightmare duration to 6s. | Medium. Good quality of life, but not strictly necessary if you rotate fast. |
| A5: Tempered Glass Judgement | Nightmare persists through enemy healing and reduces target Max HP based on DoT damage. | Situational. Excellent for endgame bosses that feature healing mechanics. |
| A6: Morning Spell | Auto-casts her Support Skill without energy when switching from a Nova/Scorch/Discord trigger character. | High. Incredible for ultra-fast, optimized team rotations. |
(Note: Resonance Lv.3 and Lv.6 boost base skill levels and allow her attacks to passively ignore 10% of enemy DEF).
Is Lacrimosa Worth Pulling?
Verdict: Yes.
If your account is lacking a strong, reliable Chaos-element damage dealer, she is an incredibly high-value pull.
- Pros: Her hybrid melee/ranged playstyle is highly adaptable. She deals absurd sustained damage through her Nightmare stacks, and her synergy with the free-to-play Diabolos gear set makes her easy to build.
- Cons: She is somewhat squishy and requires a lot of field time to build her 10 debuff stacks. You will practically be forced to run her with a strong shielder or damage-redirector like Fadia to keep her alive during hard content.
Frequently Asked Questions (FAQ)
How do I survive while building DoT stacks since this character is so squishy?
Because this carry requires significant field time to stack her Nightmare debuffs, she is highly vulnerable to interruption. You should heavily rely on her Critical Riposte mechanic by dodging just before an enemy hits you. This not only gives you invincibility frames but immediately counter-attacks, reducing enemy Break and applying Nightmare safely. Always pair her with a defensive powerhouse like Fadia to absorb stray hits.
Should I use the Melee or Ranged Basic Attacks?
It depends entirely on the boss encounter! The melee Tomato Metal attacks are faster and create small AoE explosions, which is great for staggered enemies. However, if a boss is highly mobile or dealing dangerous close-quarters damage, instantly swapping to the ranged Tomato Percussion stance allows your main DPS to keep up her sustained damage from a safe distance without dropping her rotation.
How does the Ultimate ability change based on my stance?
Her burst damage visually and mechanically adapts to your current weapon module. If you activate the ultimate while in melee mode, she summons a Truck that deals 10 heavy instances of Chaos DMG. If you are in the ranged stance, she drops a Car that hits 5 times but has a massive final explosion multiplier. Both are excellent, but the Car often provides faster, chunkier burst damage during tight vulnerability windows.

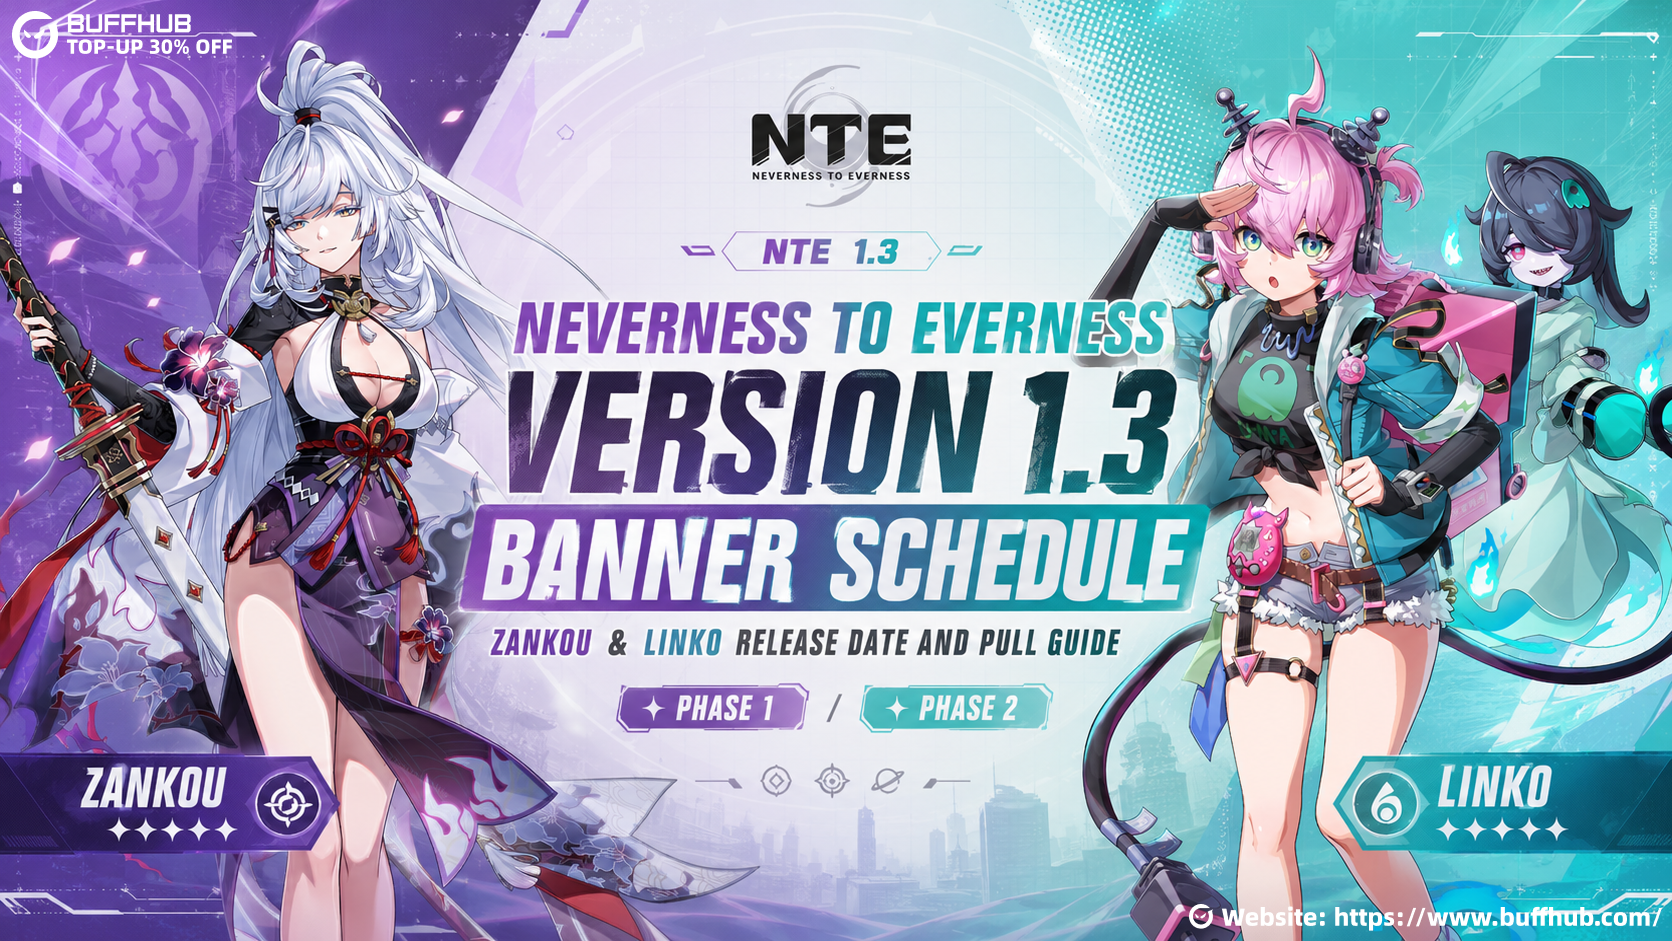
 Jul 10, 2026
 NTE (Neverness to Everness)