


Before you start grinding FC 27 Destined for Glory objectives, give your squad a quick check. Adding the right players now lets you work toward Squad Foundations Shunsuke Mito while you chase the Exhibition rewards, instead of going back later to repeat matches with a different team. Start with the Exhibition tasks, collect the loan player after your first game, and leave any remaining Mito wins for another Ultimate Team mode once the event-specific work is done.



With 10 Exhibition attempts per day, you want each match to count toward as many unfinished tasks as possible. A win without the required French or Eredivisie starters leaves progress on the table, while a goal from the right attacker can advance several objectives at once. Sort out those requirements before matchmaking, then fill the remaining positions with players you are comfortable using.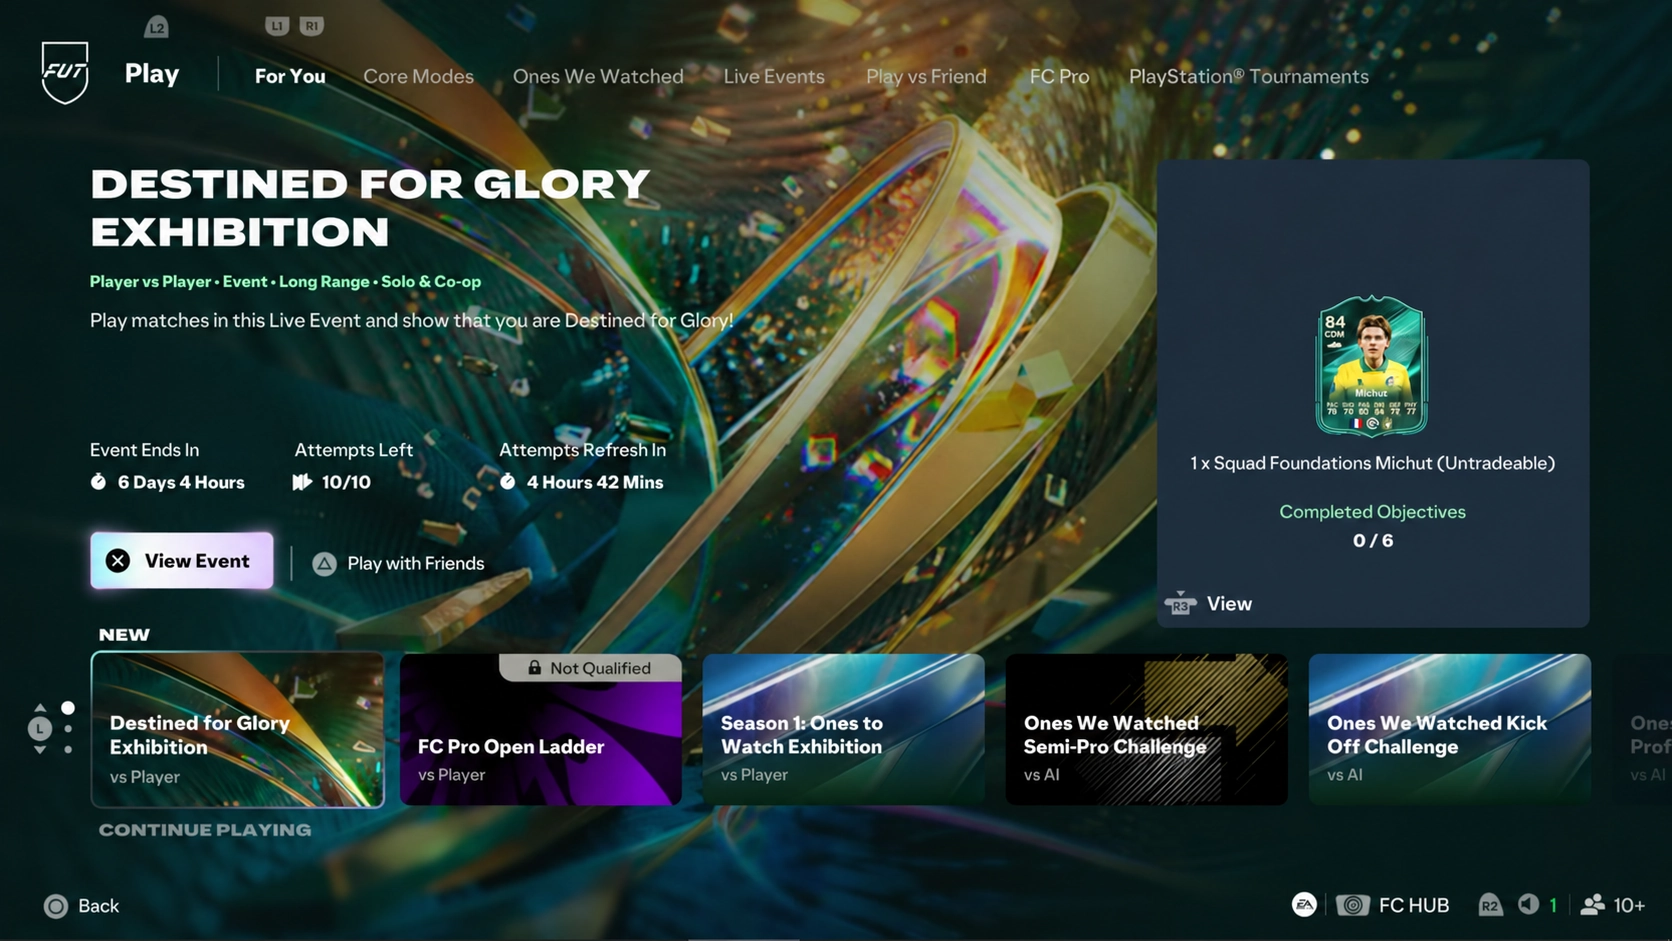













Set Up Your Squad Before Spending an Attempt
Check your whole squad for the entry restrictions first: you can bring no more than two players rated 85 or higher, and Icons are not allowed. Then put two French players and two Eredivisie players in your starting XI so your wins advance both objective groups. For the scoring tasks, make room for a Japanese attacker and eligible LM scorers. You want those players involved in your normal attacks, rather than stuck somewhere you rarely create chances.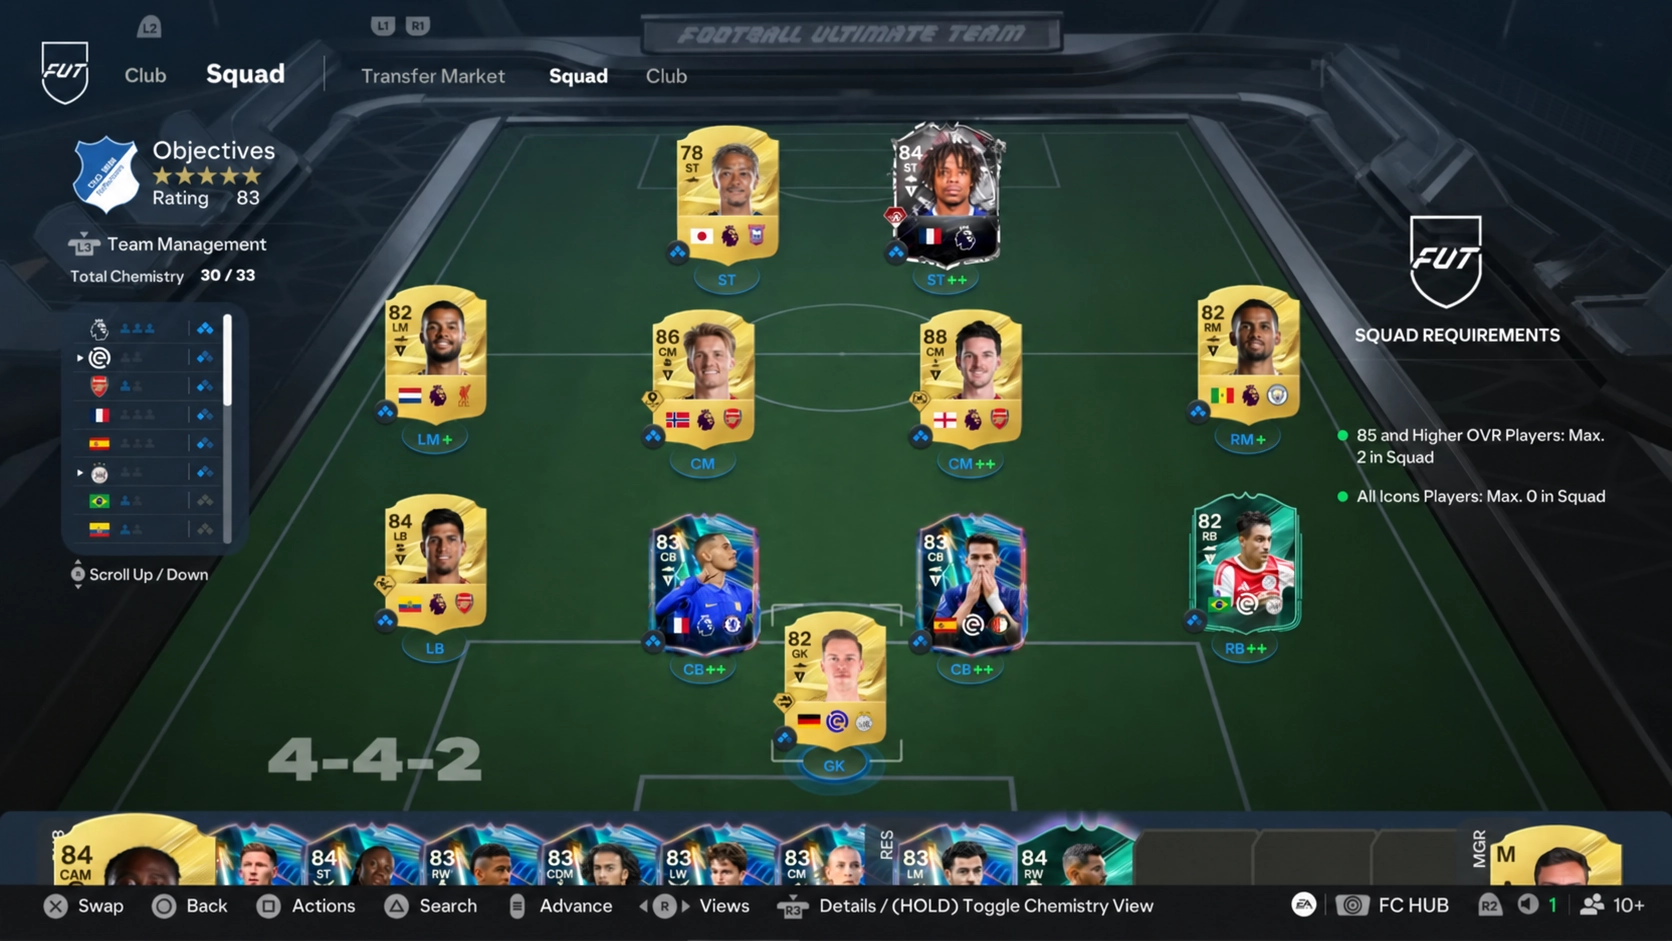
| Who to Include | Objective to Cover | Before You Queue |
|---|---|---|
| Two French starters | Win three Exhibition matches with two French players starting | Check that both are in your starting XI, not on the bench |
| Two Eredivisie starters | Win three matches in any Ultimate Team mode | Keep both starting until you have collected the three wins |
| A Japanese goalscorer | Score with a Japanese player in four separate matches | Use someone you can reliably get into shooting positions |
| Players with LM as their preferred position | Score with an LM in three separate matches | Give yourself more than one eligible scoring option if your squad allows it |
| A Destined for Glory starter | Score in three separate Exhibition matches with that card starting | If you need one, claim the loan pick after your first match |
A Japanese player with LM as their preferred position is particularly useful here: one goal can advance both scoring tasks. You can also use eligible LMs elsewhere in attack, since the approach relies on their preferred position rather than the slot they occupy during the match. That gives you more freedom to take an open chance instead of passing up a shot to find one specific player.
Check your club before buying anyone. You do not need to recreate the example squad or unlock a premium Season Pass card to follow this route. Keep the players who already fit, replace only the missing requirements, and use your two 85-plus places where they help you most. The aim is a team you can win with while completing objectives, not an expensive lineup assembled just for this event.
Claim the Loan Pick Before Queuing Again
If you do not own a Destined for Glory card, play your first Exhibition match and then return to Objectives. The play-one reward gives you a one-of-three Destined for Glory Week 1 loan player pick, which you can use for the next task. Pick someone who fits your team without displacing the French or Eredivisie starters you still need. Check the 85-plus limit again when adding the loan card, as you may need to swap out another highly rated player.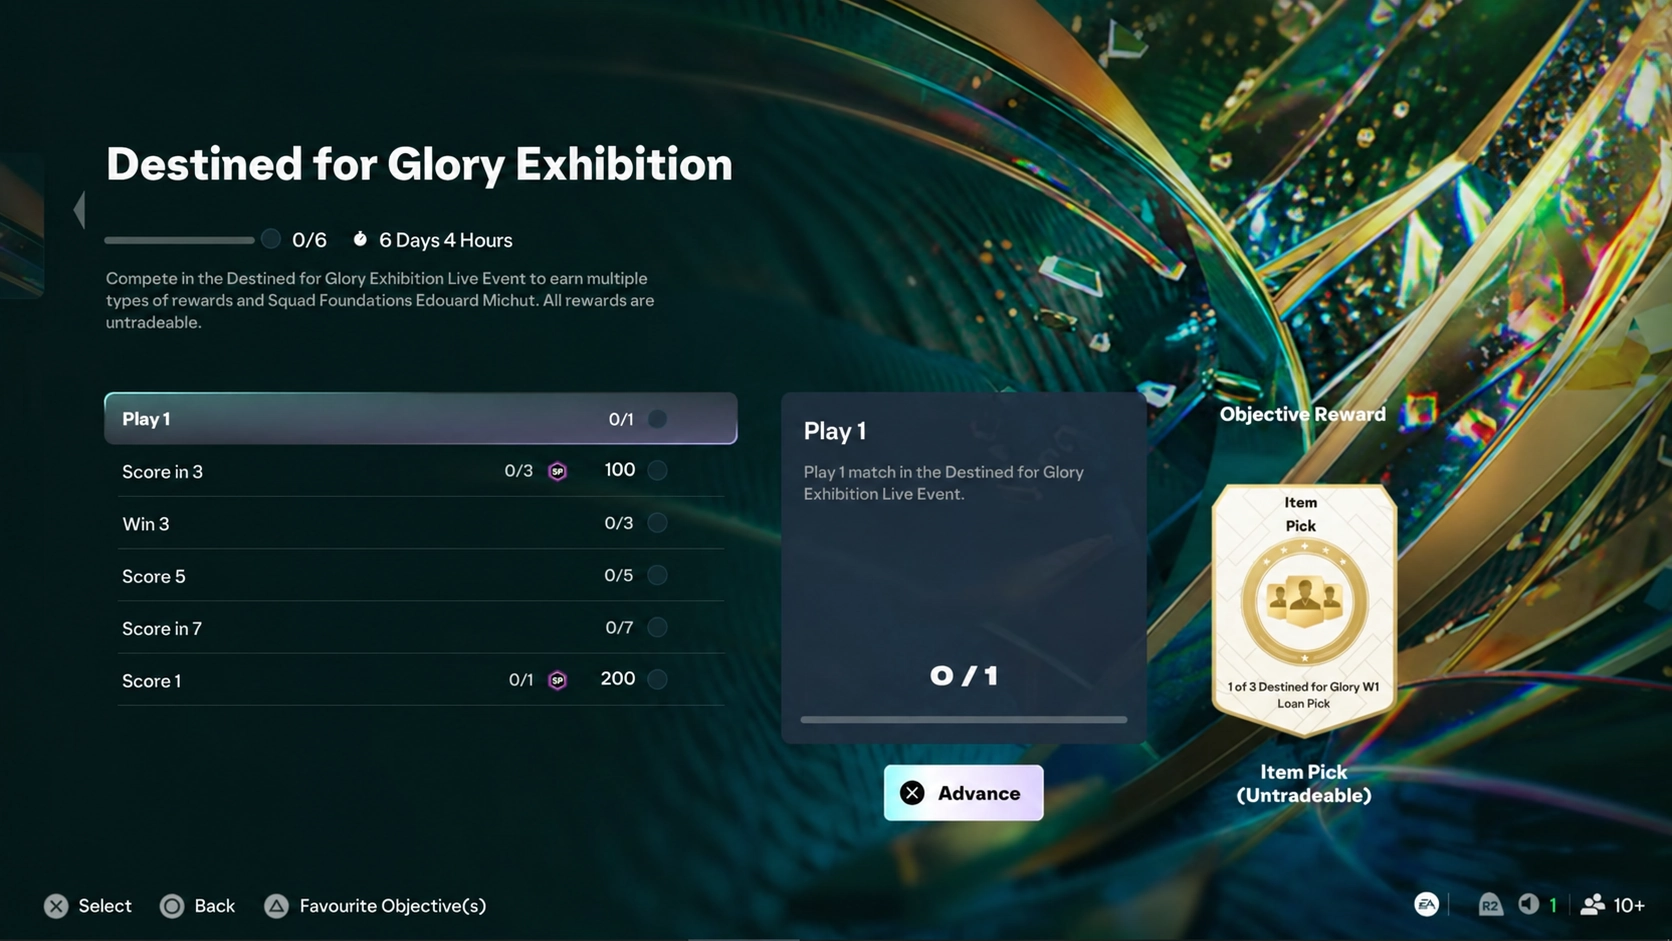
You only need to score in three separate matches with a Destined for Glory player starting; that player does not need to score. Keep creating chances for your Japanese and LM attackers while the loan card handles the lineup condition. There is no need to force every attack through your new pick.
Keep an eye on the loan counter, because these Exhibition appearances can use up loan matches. Once the three-match task registers as complete, you can take the card out and return to your usual player. If the loan improves your team, keeping it in is fine, but you no longer need to spend its remaining appearances for that objective.
Which Goals Should You Go for First?
In your early matches, look for a goal with your Japanese player and an eligible LM before worrying about running up the score. Their objectives track separate matches, so a hat-trick does not replace scoring across several fixtures. If one player covers both requirements, get that goal and then play more freely. If you use two different scorers, check which one still needs a goal before changing your attack.
Work on the five low-driven goals whenever the chances suit that finish. All five can count in one match, so there is no need to spread them across your daily attempts. Equally, do not waste an easy scoring opportunity trying to force a low-driven shot when you still need your first qualifying goal of the game.
Try to get the outside-the-box goal done when you have a clear opening. Under the Exhibition’s Long Range rules, that finish counts as two on the scoreboard, which can also help you secure a win. Once the objective is complete, you can choose your shots around the match situation rather than continuing to chase long-range goals for the task.
A Goal Still Matters When You Cannot Get the Win
If an opponent is getting the better of you, focus on finding a goal before writing the match off. The Exhibition asks you to score in seven separate matches, so a scoring defeat can still advance that counter. Mito’s seven-win task is separate and can be finished in another mode; you do not have to turn every Exhibition appearance into a victory to make useful progress.
After each match, check the counters instead of keeping track from memory. Once an LM goal or a nationality requirement is finished, you can stop shaping your play around it. This becomes especially useful late in the run, when you may only need to score with any player and can finally use your attack without extra conditions.
Check What You Still Need Before Playing More Matches
The two player rewards come from different groups: completing the Exhibition objectives unlocks 84-rated Squad Foundations Edouard Michut, while the separate Squad Foundations group awards 83-rated Shunsuke Mito and 100 SP upon completion. Mito’s Wide Threat objective provides another 100 SP, bringing the group’s total to 200 SP. Check both groups before deciding where to play next. You might already have finished the French-player wins but still need Exhibition scoring appearances, or have all the event tasks done with only Mito’s remaining wins left.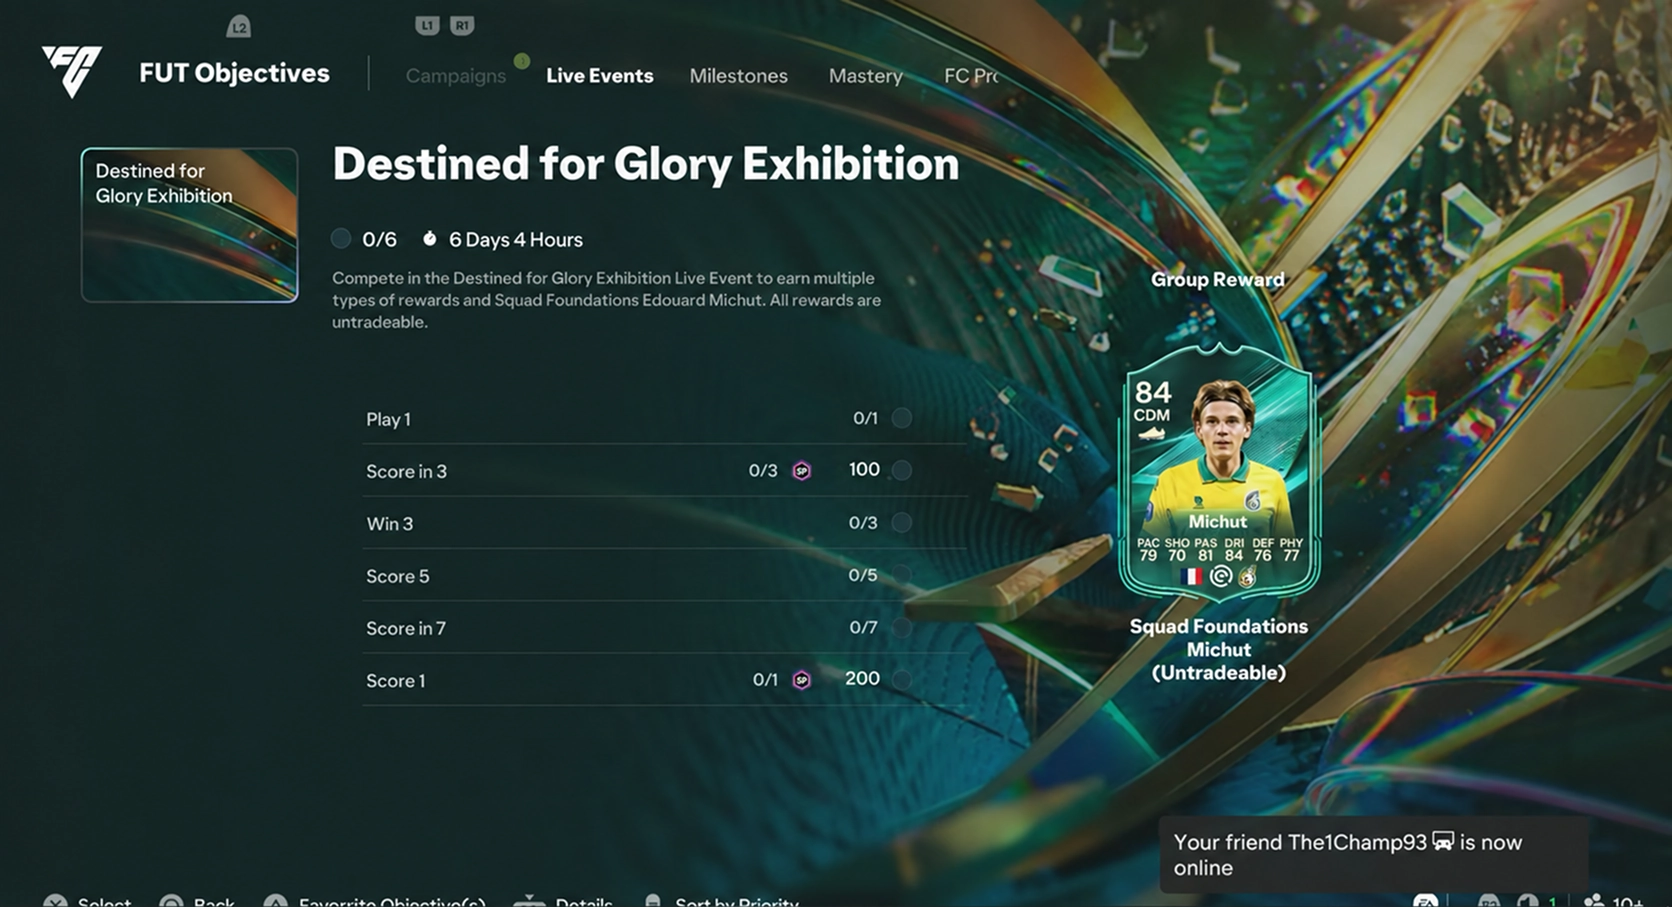
| Objective Group | Task | Reward |
|---|---|---|
| Destined for Glory | Play one Exhibition match | One-of-three Week 1 loan player pick |
| Destined for Glory | Score in three separate matches with a Destined for Glory starter | 100 SP |
| Destined for Glory | Win three matches with two French starters | 75+ x10 pack |
| Destined for Glory | Score five low-driven goals | Celebration |
| Destined for Glory | Score in seven separate matches | 78+ x5 pack |
| Destined for Glory | Score once from outside the box | 200 SP and 5,000 coins |
| Mito | Win three matches with two Eredivisie starters | 80+ x4 pack |
| Mito | Score with a Japanese player in four separate matches | 81+ x4 pack |
| Mito | Score with a player whose preferred position includes LM in three separate matches | 82+ x4 player pack + 100 SP |
| Mito | Win seven matches in any Ultimate Team mode | 83+ x4 pack |
| Mito | Complete any Evolution (EVO Ascension) | One additional Repeat Delivery Evolution |
| Mito – Group Completion | Complete all five Mito objectives | 83-rated Squad Foundations Shunsuke Mito + 100 SP |
Even if Mito will not replace your current winger, his pack rewards, SP, and additional Repeat Delivery Evolution give you a reason to include his requirements while you play the Exhibition. Across the full group, you can collect 200 SP alongside Mito, the packs, and the extra Evolution. The decision changes once that overlap ends: check how many extra matches you still need and which reward you are working toward. If only the seven-win task remains, you can chase the 83+ x4 pack elsewhere without spending more event attempts. Treat the packs as extra club options, rather than counting on a particular pull to justify the grind.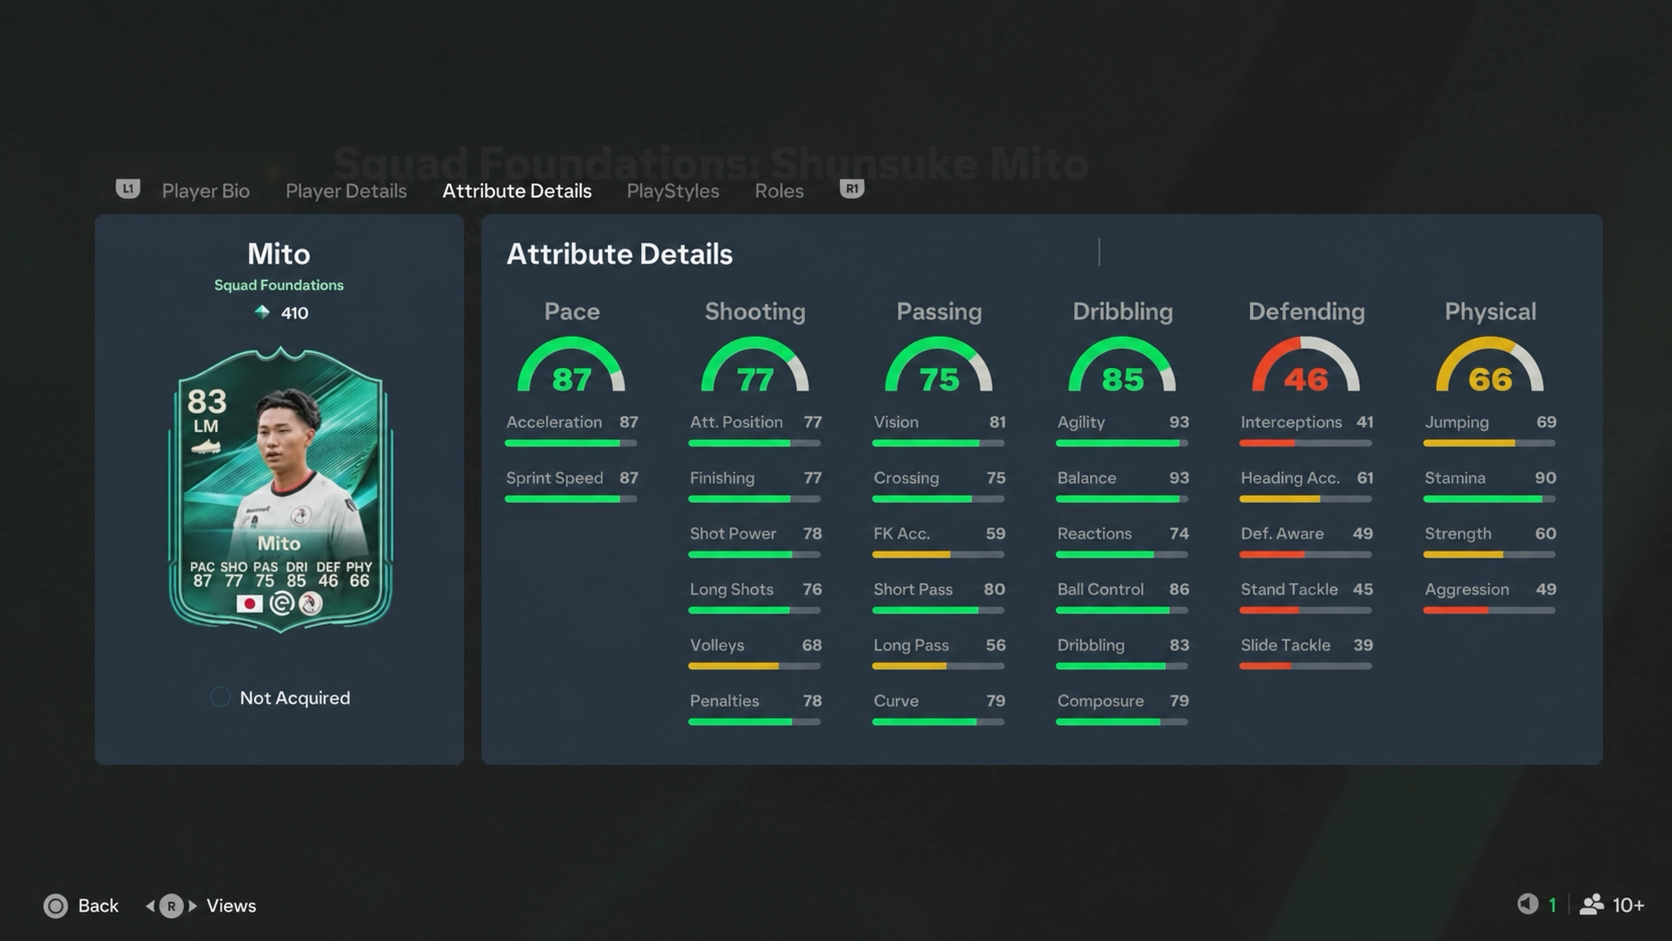
Still Saving Your Evolution? You Can Finish Mito’s Task
Do not rush a player upgrade just because EVO Ascension is the last unfinished task in Mito’s group. EVO Ascension asks you to complete any Evolution, so a short cosmetic or role-based option may let you preserve a more valuable stat upgrade. Check that your chosen Evolution meets the objective wording before committing a player, especially if you are still weighing up your main Evolution investment.
Completing EVO Ascension gives you one additional repeat of the Repeat Delivery Evolution. Look through the options you already have before spending coins on another Evolution, then complete a qualifying option and return to Objectives to confirm that the task has registered. If this was your last unfinished Mito objective, you can claim the 83-rated card and the 100 SP group reward without committing a valuable stat upgrade purely to finish the set.
Only Mito Wins Left? Switch Modes
Once the Exhibition objectives are finished, there is no need to keep playing that event solely for Mito’s seven wins. Move to an offline Ultimate Team mode if that is how you would rather earn the remaining victories. If the Eredivisie win task is also unfinished, keep those two players in your starting XI so the same games continue to cover both requirements.
If you use all 10 attempts before clearing the event, check what you can still finish elsewhere. Mito’s any-mode tasks do not require you to wait for the Exhibition allowance to refresh. Leave the event-specific requirements for your next set of attempts and use the rest of your session on progress that is still available.
You can also loosen the objective lineup as you go. Swap out the Japanese scorer once that task is complete, free up the Eredivisie places after their three wins, and remove the loan card when its starting-lineup requirement is done. Keep checking the Exhibition entry rules whenever you make changes, but do not keep using a less comfortable team for objectives you have already finished.