

Asaba Harumasa is an S-Rank Electric Attack Agent in Zenless Zone Zero who fights as a quick-swap damage dealer, shifting between ranged bow attacks and fast melee pursuits. His damage loop is built around creating Electro Quivers, triggering them with Falling Feather, stacking Electro Prison, and turning targets into X-Marked enemies. Once the mark is active, Harumasa can close the distance with Dash Attack: Hiten no Tsuru - Slash and repeatedly consume Electro Prison stacks for his melee sequence. Players preparing premium currency alongside their account progression can also use the Zenless Zone Zero top-up page.



His team requirements are just as important as his personal build. Additional Ability: Overclock activates when another squad member is a Stun or Anomaly Agent, increasing Harumasa's damage by 40% against Stunned enemies or enemies under an Attribute Anomaly. Falling Feather also applies 2 Electro Prison stacks when it hits those targets, so a good Stun partner does more than create a burst window—it also helps Harumasa reach his X-Marked sequence faster.

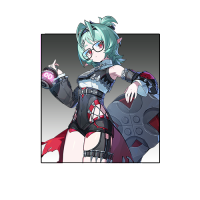
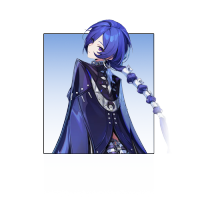
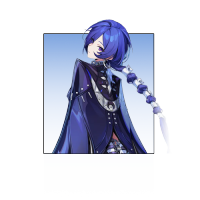





What Is the Best Harumasa Build in ZZZ?
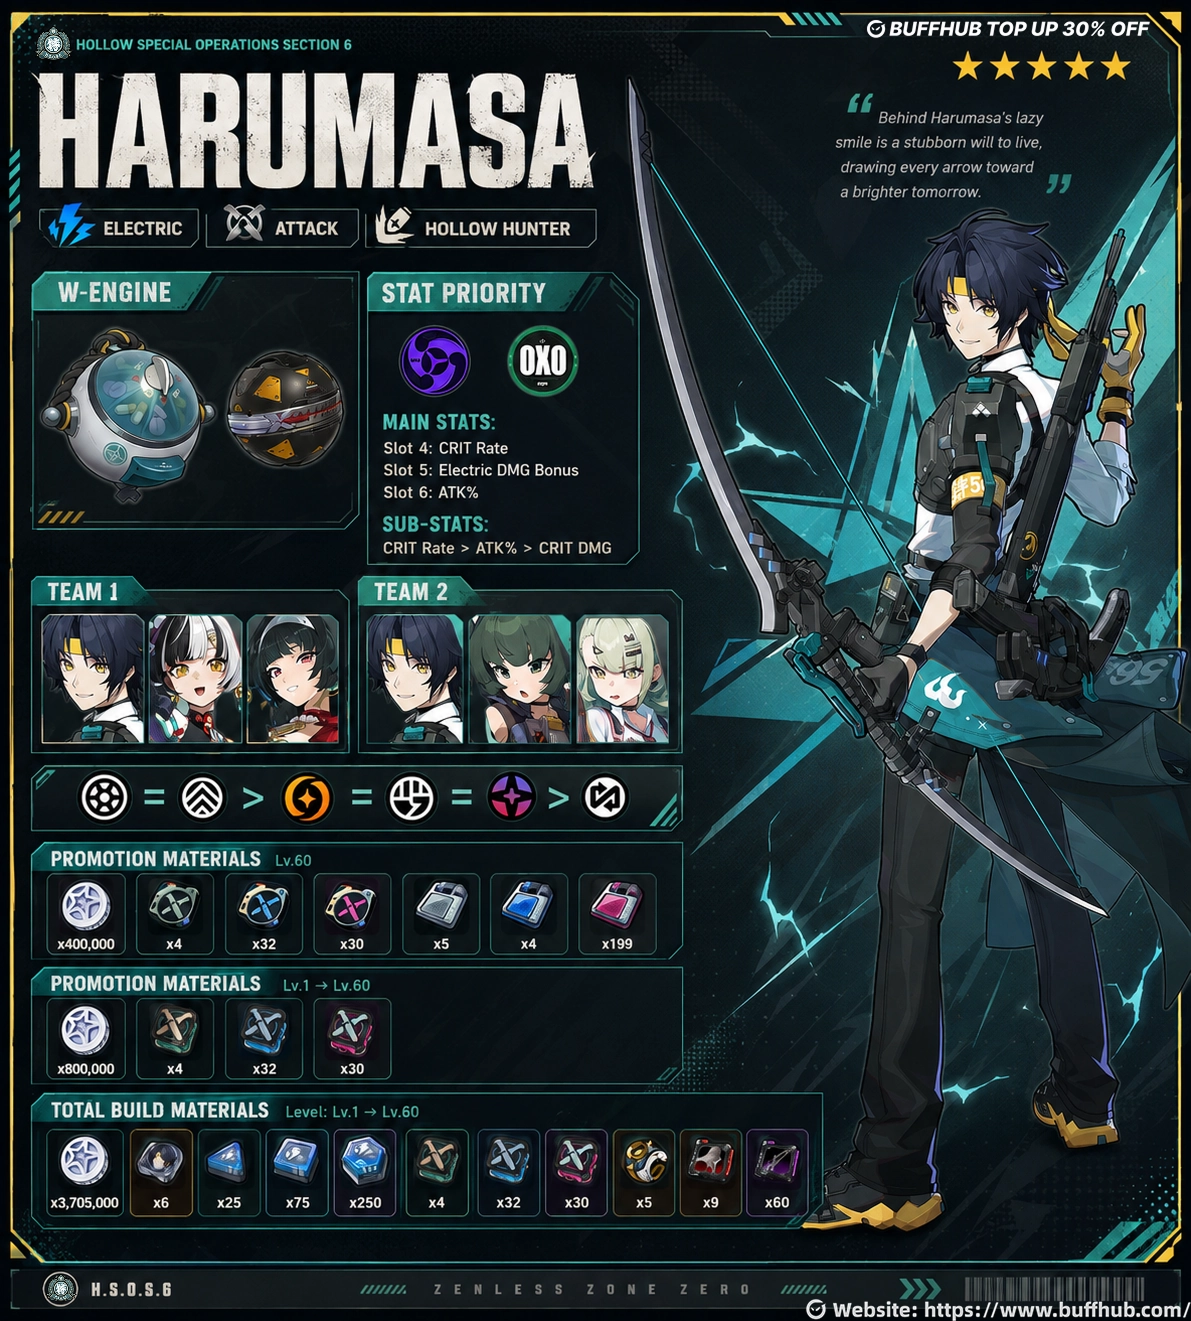
Harumasa wants CRIT, ATK, and Electric damage while keeping his Dash Attack-centered damage loop consistent. His recommended skill priority puts the Core Skill and Dodge category first because his Core Passive strengthens the attacks tied to his pursuit sequence, while Hiten no Tsuru - Slash sits inside the Dodge skill category. The rest of the build can then support his ranged setup and high-damage burst skills.
- Role: Electric Attack Agent and quick-swap damage dealer
- Best W-Engine: Zanshin Herb Case
- Alternative W-Engine: The Brimstone
- Drive Disc 4: CRIT Rate > CRIT DMG > ATK%
- Drive Disc 5: Electric DMG Bonus > ATK%
- Drive Disc 6: ATK%
- Substats: CRIT Rate, ATK%, CRIT DMG
- Skill Priority: Core Skill = Dodge > Chain Attack = Basic Attack = Special Attack > Assist
If you are comparing Harumasa with other damage dealers before committing resources, the Zenless Zone Zero tier list provides a broader look at the current Agent roster. For Harumasa himself, however, the main goal is to strengthen the CRIT-driven Dash Attack sequence that defines his kit.
What Are His Best W-Engines?
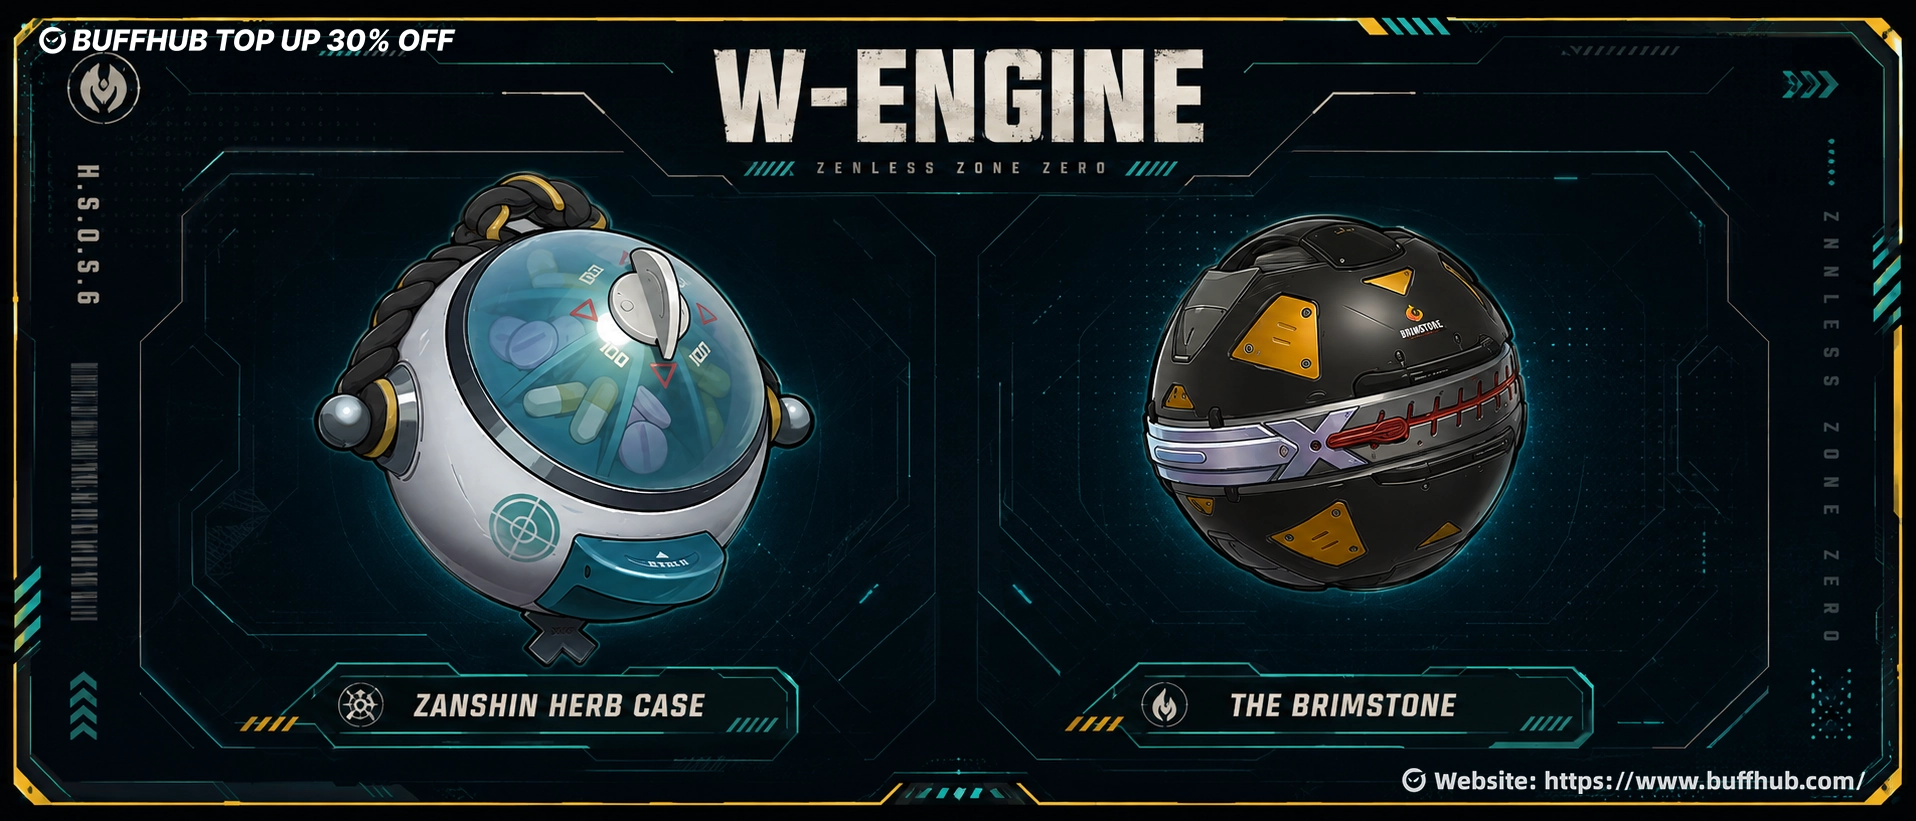
Zanshin Herb Case is Harumasa's signature W-Engine and matches the parts of his kit that receive the most attention in his recommended build. At Level 60, it combines 713 Base ATK with 48% CRIT DMG, while its passive adds CRIT Rate and directly increases Dash Attack Electric DMG. Its second CRIT Rate effect is also triggered when a squad member applies an Attribute Anomaly or Stuns an enemy, matching the same team conditions used by Harumasa's Additional Ability.
| W-Engine | Lv. 60 Stats | R1 Effect | Build Use |
|---|---|---|---|
| Zanshin Herb Case | 713 Base ATK 48% CRIT DMG |
CRIT Rate +10%. Dash Attack Electric DMG +40%. After any squad member applies an Attribute Anomaly or Stuns an enemy, CRIT Rate gains another 10% for 15s. | Signature option built directly around Harumasa's Dash Attacks and Stun/Anomaly team condition. |
| The Brimstone | 684 Base ATK 30% ATK |
Basic Attacks, Dash Attacks, and Dodge Counters grant 3.5% ATK for 8s, stacking up to 8 times. The effect can trigger once every 0.5s, with each stack tracked separately. | Alternative S-Rank option that rewards the Basic and Dash Attacks already present in his normal combat loop. |
The Brimstone does not provide Zanshin Herb Case's Dash Attack Electric DMG bonus or its Stun/Anomaly-based CRIT effect, but its trigger conditions still fit Harumasa naturally. Hiten no Tsuru - Slash counts as a Dash Attack, while Cloud Piercer gives him another route for building the ATK stacks. If The Brimstone is already developed, its passive does not require Harumasa to abandon his normal attack pattern just to maintain its effect.
Which Drive Discs and Stats Should He Use?
Harumasa's recommended Drive Disc options approach his damage from three different directions. Thunder Metal focuses on Electric damage and gains a large ATK effect while an enemy is Shocked, Woodpecker Electro supports CRIT Rate and rewards critical hits from several attack categories, while Shadow Harmony directly strengthens Dash Attacks and can build both ATK and CRIT Rate. The better choice depends on which effect your team can maintain consistently rather than simply looking at one bonus in isolation.
| Drive Disc | 2-Pc Effect | 4-Pc Effect | How It Fits Harumasa |
|---|---|---|---|
| Thunder Metal | Electric DMG +10% | While an enemy in combat is Shocked, ATK increases by 28%. | Supports his Electric damage, with the 4-Pc bonus depending on maintaining Shock. |
| Woodpecker Electro | CRIT Rate +8% | Critical hits from Basic Attack, Dodge Counter, or EX Special Attack grant 9% ATK for 6s. Each skill type tracks its own duration. | Provides CRIT Rate and rewards several actions already found in his kit. |
| Shadow Harmony | Aftershock and Dash Attack DMG +15% | Attribute-matching Aftershocks or Dash Attacks grant 4% ATK and 4% CRIT Rate per stack, up to 3 stacks for 15s. | Directly targets Dash Attack damage and therefore fits his X-Marked pursuit sequence. |
For main stats, Slot 4 should primarily solve Harumasa's CRIT needs, with CRIT Rate listed ahead of CRIT DMG and ATK%. Slot 5 favors Electric DMG Bonus, although ATK% is the recommended alternative, while Slot 6 uses ATK%. Substats should continue building CRIT Rate, ATK%, and CRIT DMG rather than spreading resources across stats that his recommended setup does not prioritize.
- Slot 4: CRIT Rate first, then CRIT DMG or ATK%
- Slot 5: Electric DMG Bonus first, with ATK% as the alternative
- Slot 6: ATK%
- Substat priority: CRIT Rate / ATK% / CRIT DMG
How Does Harumasa's Kit Work?
Electro Quivers, Electro Prison, and X-Marked
The main mechanic begins with Electro Quivers. The fifth hit of Basic Attack: Cloud Piercer can generate 2 Quivers, while an EX Special Attack or Chain Attack can generate 6. Harumasa can have up to 6 Electro Quivers on the field, and if none are present when a squad member applies an Attribute Anomaly, another 6 can be generated once every 12 seconds.
Once Quivers are ready, Basic Attack: Falling Feather acts as the bridge into Harumasa's melee phase. Hitting an enemy with Falling Feather activates the existing Quivers, causing them to fire Ha-Oto no Ya. These hits apply Electro Prison, which can normally stack up to 8 times and lasts for 10 seconds; reaching at least 2 stacks makes the target X-Marked.
An X-Marked target puts Harumasa into his Awakened state and changes his normal Dash Attack into Hiten no Tsuru - Slash. Each successful Slash consumes 2 Electro Prison stacks, and the attack can be repeated while enough stacks remain to keep the target X-Marked. Falling Feather can also be followed immediately by the Slash while Harumasa is Awakened, creating a clean transition from the ranged setup into his close-range damage sequence.
Core Passive and Overclock
At Level 6, Core Passive: Day Break increases the CRIT Rate of Hiten no Tsuru - Slash, Chasing Thunder, and the Ultimate by 25%. Critical hits from the Slash or Ultimate generate Gleaming Edge, which stacks up to 6 times, and each stack increases the CRIT DMG of Hiten no Tsuru - Slash, Chasing Thunder, and Ultimate by 12%. This makes his CRIT-oriented Drive Disc and W-Engine choices directly relevant to the attacks that define his burst window.
Overclock is the reason his team slot cannot be treated as an afterthought. With another Stun or Anomaly Agent in the squad, Harumasa deals 40% more damage when attacking Stunned enemies or enemies under Attribute Anomaly. Falling Feather also applies 2 Electro Prison stacks in the same situation, giving him both a damage benefit and a faster route into X-Marked.
Skill Upgrade Priority
The recommended upgrade order is Core Skill = Dodge > Chain Attack = Basic Attack = Special Attack > Assist from M0 through M6. Dodge contains Hiten no Tsuru - Slash, while the Core Skill improves the passive effects supporting that damage sequence. Chain, Basic, and Special Attack still matter because they provide Harumasa with major damage instances and several of his main methods of creating Electro Quivers, so they should not be left far behind after the first priority is handled.
Potential Vision Upgrades
Harumasa's enhanced Potential Vision kit adds more actions to the same Quiver-to-pursuit framework rather than replacing it. The upgraded Hiten no Tsuru - Slash triggers Chasing Thunder when it hits a Stunned enemy, while EX Special Attack: Nowhere to Run - Patrol can be launched after several specified actions, including the later hits of Cloud Piercer, Hiten no Tsuru - Slash, Ultimate, Dodge Counter, or Quick Assist. Patrol generates 6 Electro Quivers with its first enhanced arrow and can activate Quivers with its final arrow, while Zanshin - Scattered Blossoms automatically follows Ultimate: Zanshin and counts as Ultimate DMG.
The accompanying Potential Awakening: Focus further improves this damage cycle. Across its listed upgrade levels, activating an EX Special Attack, Chain Attack, or Ultimate raises ATK from 4% up to 12%, while Hiten no Tsuru - Slash and Chasing Thunder gain increasing Electric RES ignore from 5% up to 15%. It also extends Gleaming Edge's duration to 10 seconds, making its CRIT DMG stacks easier to carry through the sequence.
What Is His Best Rotation?
A Harumasa rotation should be built around preparing the enemy before committing to his pursuit attacks. His Stun teammate creates the condition needed for Overclock, while the support establishes the team's offensive buffs. Harumasa can then generate Quivers, trigger Ha-Oto no Ya with Falling Feather, and spend the resulting Electro Prison stacks through repeated Hiten no Tsuru - Slash attacks.
- Set up the Stun window and team buffs. The Stun condition activates Harumasa's 40% Overclock damage bonus and improves Falling Feather's Electro Prison application.
- Generate Electro Quivers. A Chain Attack or EX Special Attack can immediately create 6, while the fifth Cloud Piercer hit provides another route with 2 Quivers.
- Use Falling Feather. This activates the Quivers and fires Ha-Oto no Ya, applying Electro Prison to the target.
- Enter the X-Marked sequence. Once the target has at least 2 Electro Prison stacks, use Hiten no Tsuru - Slash and continue the pursuit while the mark remains.
- Use high-damage actions inside the prepared window. Ultimate: Zanshin benefits from the same Stunned-enemy condition used by Overclock, while Potential Vision also adds Chasing Thunder, Patrol, and Scattered Blossoms to the burst sequence.
The common mistake is treating Falling Feather as an isolated ranged attack instead of the trigger that connects both halves of Harumasa's kit. Quivers without Falling Feather do not move the rotation into Electro Prison, while spending the X-Mark too early with too few stacks shortens the Slash sequence. The cleaner approach is to finish the setup first, then let Harumasa spend the mark once the enemy is already inside the team's main damage window.
What Are the Best Teams for Harumasa?
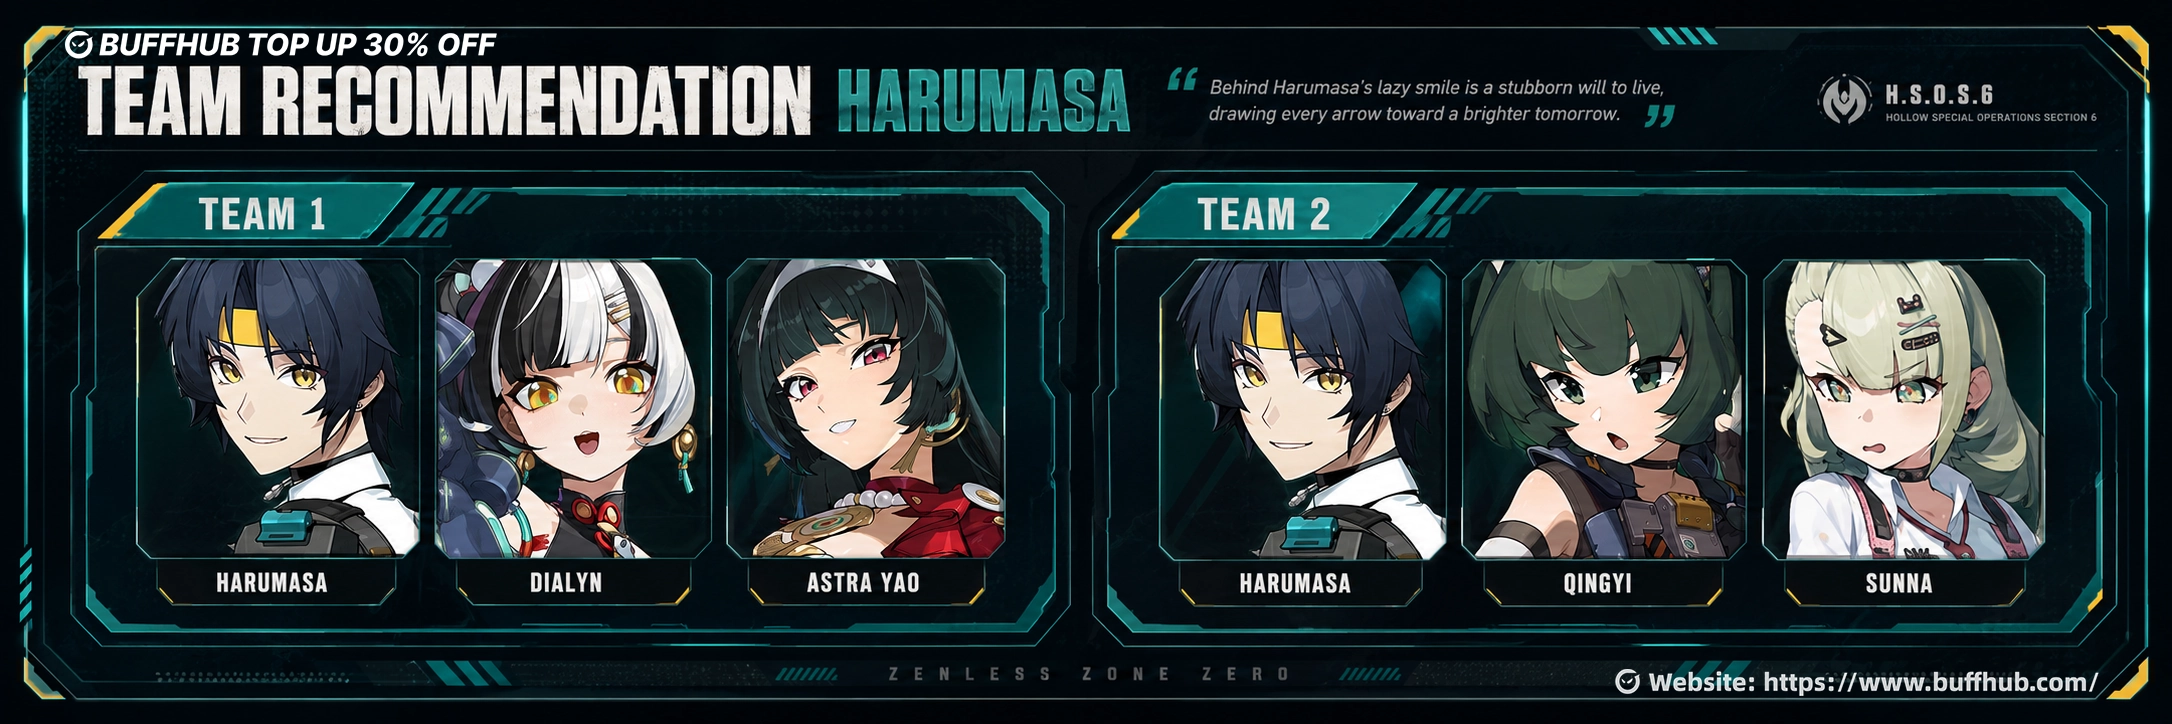
Team 1: Harumasa + Dialyn + Astra Yao
Harumasa + Dialyn + Astra Yao combines his X-Marked burst with a Stun Agent who supplies several offensive benefits. Dialyn activates Harumasa's Overclock simply by filling the Stun slot, while Malicious Complaint can extend an enemy's Stun duration by 2 seconds and increase its Stun DMG Multiplier by 30%. Her Additional Ability also gives the squad Overwhelmingly Positive after an EX Special Attack or Ultimate, increasing damage dealt by 40% for 15 seconds.
Dialyn's Positive Reviews mechanic adds another useful burst interaction because she can upgrade the next incoming Agent's Chain Attack into an Ultimate under the required conditions. Astra Yao then supplies the support layer: Idyllic Cadenza increases all squad members' damage by 20% and CRIT DMG by 25%, while Graceful Andante can grant Astra and the incoming character an ATK bonus equal to 35% of her initial ATK, up to 1,200. With Dialyn preparing the Stun window and Astra maintaining her offensive support, Harumasa can focus his field time on generating the mark and spending it through Slash attacks.
Team 2: Harumasa + Qingyi + Sunna
Harumasa + Qingyi + Sunna keeps the same Stun-centered foundation but uses a different set of buffs. Qingyi's Core Passive: Eternal Seasons applies Subjugation through the Finishing Move of Enchanted Moonlit Blossoms, stacking up to 20 times, with each stack increasing the target's Stun DMG Multiplier by 4%. Her own Additional Ability also activates when another character is an Attack Agent, so Harumasa naturally satisfies her squad requirement.
Sunna adds another offensive support layer that also works with an Attack Agent. Cuteness Is Justice grants characters in Angelic Chord-ination an ATK increase equal to 30% of Sunna's initial ATK, capped at 1,050, while Cat's Gaze can be triggered by an Attack character to deal that Agent's Attribute DMG equal to 300% of ATK. Her Additional Ability can increase the target's Stun DMG Multiplier by 30% for 40 seconds through Ether Veil: Delusion Reprise, and a Stunned target significantly reduces the number of attacks required to trigger Cat's Gaze. Qingyi therefore handles the Stun setup while Sunna contributes buffs and additional Attack-Agent interactions before Harumasa commits to his pursuit sequence.
What Materials Does He Need for a Full Build?
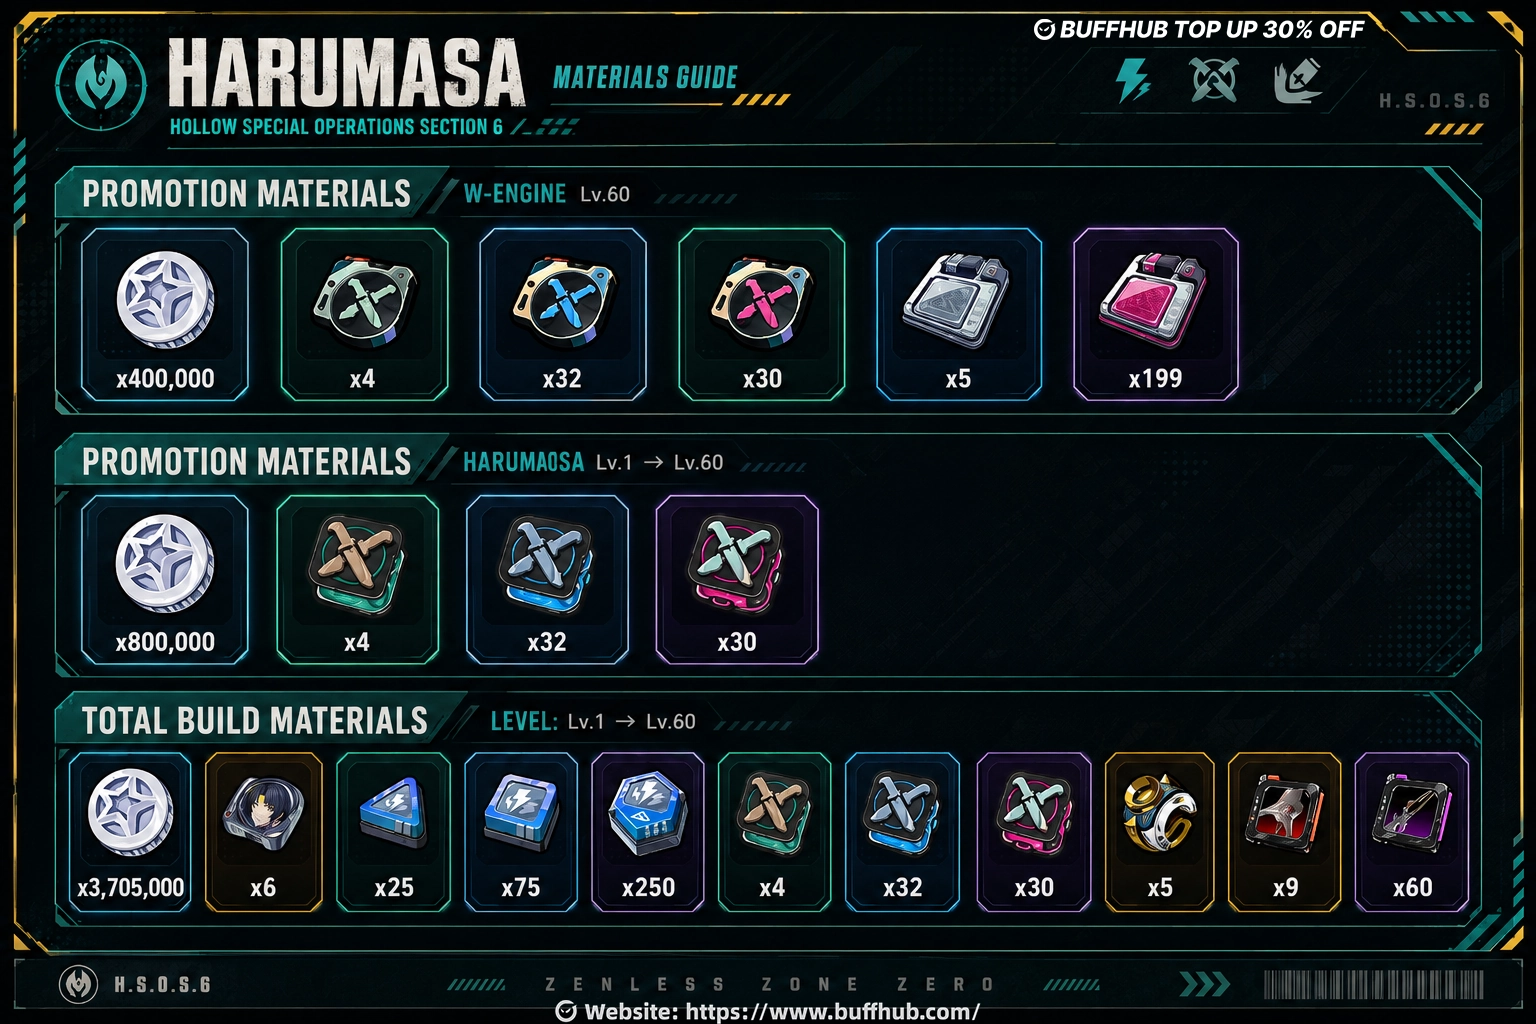
Building Harumasa and his signature W-Engine uses separate promotion materials, so planning both together prevents the weapon from competing unexpectedly with the character build. The character total below covers the listed Level 1 to 60 build and skill resources, while the Zanshin Herb Case section covers its Level 60 promotion materials. If the signature W-Engine is part of the build plan, the additional 400,000 Denny and Attack Components should be budgeted alongside Harumasa's own costs.
| Build Target | Material | Amount |
|---|---|---|
| Harumasa | Denny | 3,705,000 |
| Harumasa | Potential Silhouette: Asaba Harumasa | 6 |
| Harumasa | Basic Shock Chip | 25 |
| Harumasa | Advanced Shock Chip | 75 |
| Harumasa | Specialized Shock Chip | 250 |
| Harumasa | Basic Attack Certification Seal | 4 |
| Harumasa | Advanced Attack Certification Seal | 32 |
| Harumasa | Pioneer's Certification Seal | 30 |
| Harumasa | Hamster Cage Pass | 5 |
| Harumasa | Sycophant's Refinement | 9 |
| Harumasa | Higher Dimensional Data: Thunderous Dragon | 60 |
| Zanshin Herb Case | Denny | 400,000 |
| Zanshin Herb Case | Attack Component | 4 |
| Zanshin Herb Case | Reinforced Attack Component | 32 |
| Zanshin Herb Case | Specialized Attack Component | 30 |
| Zanshin Herb Case | W-Engine Battery | 5 |
| Zanshin Herb Case | W-Engine Power Supply | 4 |
| Zanshin Herb Case | W-Engine Energy Module | 199 |
Which Mindscape Cinema Upgrades Are Most Important?
M1 High Spirit raises Electro Prison's maximum stack limit from Ha-Oto no Ya to 14 and causes each triggered Electro Quiver to fire two consecutive Ha-Oto no Ya attacks. M2 Languish gives Harumasa 7 Electro Blitz stacks after a Chain Attack or Ultimate, increasing Hiten no Tsuru - Slash damage by 50% while the stacks remain and consuming one stack after each Slash ends. M3 and M5 are the standard skill-level increases, raising Basic Attack, Dodge, Assist, Special Attack, and Chain Attack by 2 levels.
M4 Occasionally Motivated extends Electro Prison to 20 seconds, grants 30 Decibels when Hiten no Tsuru - Slash hits once per use, and makes his Ultimate apply maximum Electro Prison stacks to all enemies on the field. M6 Tacit Understanding adds another offensive layer: after Ha-Oto no Ya hits a Stunned enemy or one under an Attribute Anomaly, Harumasa ignores 15% of that target's Electric RES for 12 seconds. Every 12 Ha-Oto no Ya hits against an enemy also triggers an extra electromagnetic explosion dealing Electric DMG equal to 1,500% of Harumasa's ATK.
What Are the Most Common Harumasa Build Questions?
What is Harumasa's best W-Engine?
Zanshin Herb Case is his signature option. It provides 48% CRIT DMG at Level 60, increases CRIT Rate by 10%, raises Dash Attack Electric DMG by 40%, and can grant another 10% CRIT Rate when a squad member Stuns an enemy or applies an Attribute Anomaly. The Brimstone is the listed S-Rank alternative and builds ATK stacks through Basic Attacks, Dash Attacks, and Dodge Counters.
What stats should Harumasa build?
Use CRIT Rate as the first listed choice on Drive Disc 4, Electric DMG Bonus on Disc 5, and ATK% on Disc 6. CRIT DMG and ATK% are listed alternatives where applicable. For substats, prioritize CRIT Rate, ATK%, and CRIT DMG.
Does Harumasa need a Stun or Anomaly teammate?
His Additional Ability: Overclock requires another Stun or Anomaly character in the squad. Once active, Harumasa deals 40% more damage to Stunned enemies or enemies under Attribute Anomaly, and Falling Feather applies 2 Electro Prison stacks to those targets. Both recommended teams therefore include a dedicated Stun Agent: Dialyn in the first team and Qingyi in the second.
How does Harumasa make an enemy X-Marked?
Harumasa first creates Electro Quivers and then hits the target with Falling Feather, causing those Quivers to fire Ha-Oto no Ya. Ha-Oto no Ya applies Electro Prison, and an enemy becomes X-Marked once it has at least 2 stacks. Harumasa can then enter his Awakened state and use Hiten no Tsuru - Slash, with each Slash consuming 2 Electro Prison stacks.